How to Use QVeris in Cursor: Give Your AI Access to 10,000+ Real Tools
Step-by-step guide: connect QVeris MCP Server to Cursor and let your AI coding assistant discover and call thousands of real-world APIs — without leaving your IDE.
🔧 QVeris → finance.stock_quote
✓ Executed in 320ms
symbol: "AAPL", price: 198.52,
change: +2.31, timestamp: "2026-03-25T14:32:07Z"
};
Why Connect QVeris to Cursor?
- AI only knows your codebase
- Can't access live data or external APIs
- You write boilerplate for every integration
- AI guesses API responses from training data
- Each new data source = new integration work
- AI discovers 10,000+ real APIs on demand
- Live stock, crypto, weather, news in IDE
- Zero boilerplate — QVeris handles auth & routing
- Real API responses, not training data guesses
- New capability = one natural language request
QVeris connects to Cursor via MCP Server — the same protocol Cursor uses for all tool integrations. Setup takes under 5 minutes.
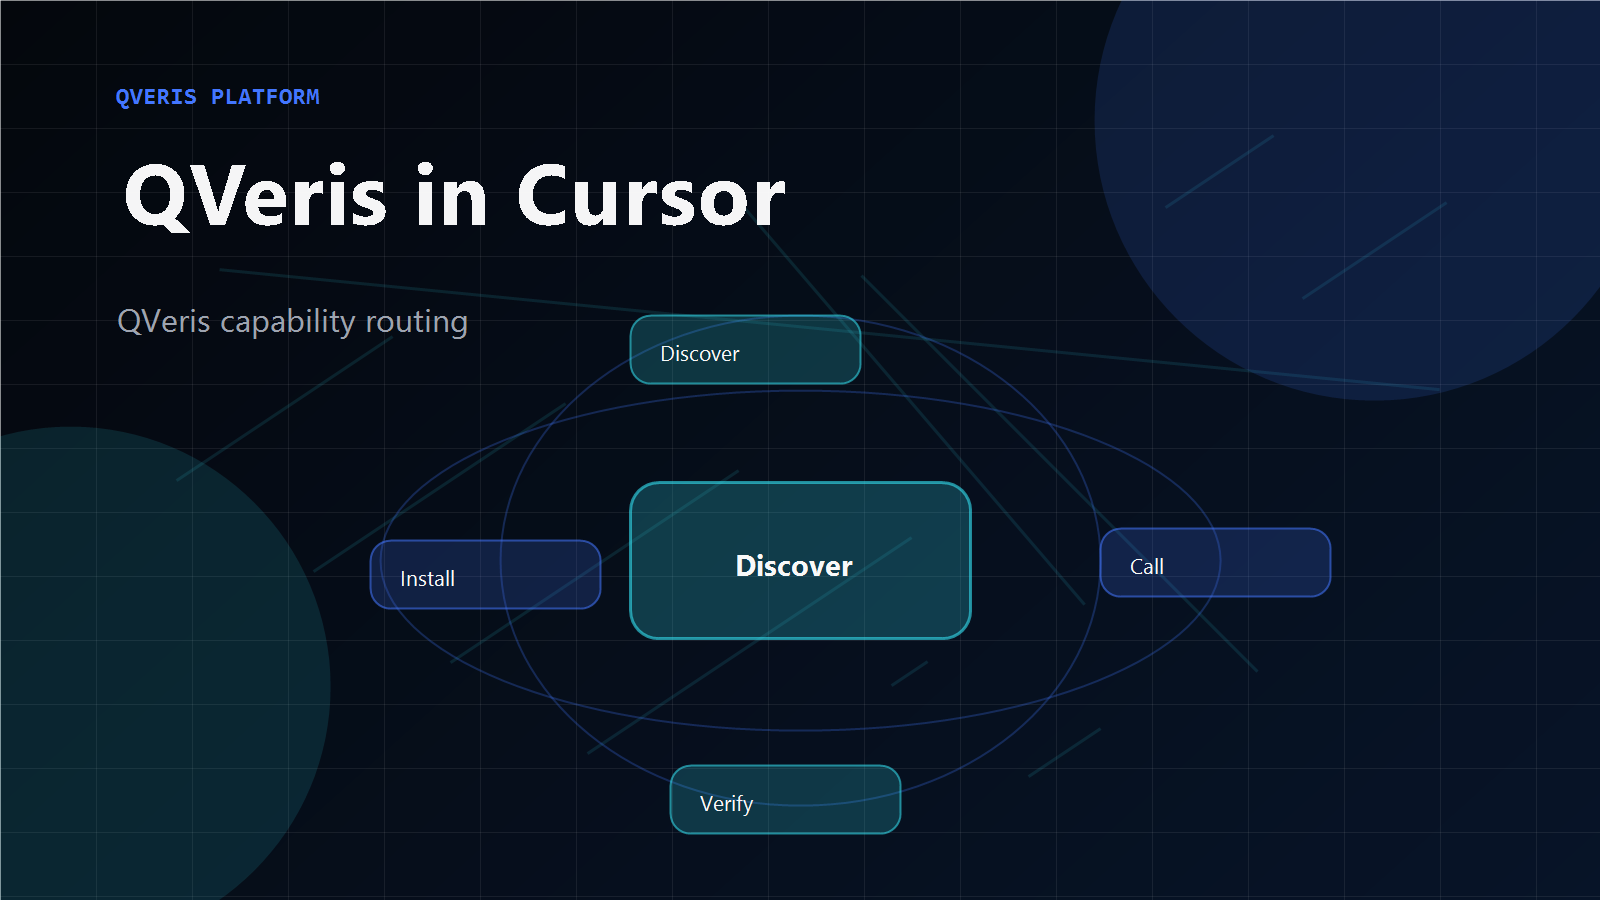
How QVeris Works Inside Cursor
You Ask Cursor
Type a request in Cursor's AI chat:
"Get the current Bitcoin price and format it for my dashboard"
QVeris MCP Routes
Cursor sends the request to QVeris. QVeris discovers the best capability, inspects parameters, and executes against a verified provider.
Live Data Returns
Structured JSON flows back. Your AI uses live data to complete the task — with real numbers, not training data estimates.
Set Up QVeris in Cursor: Step by Step
Takes less than 5 minutes. No credit card required.
Get Your QVeris API Key
Sign up at qveris.ai — free account includes 1,000 credits. No credit card required. Navigate to Account → API Keys → Create New Key.
qv-xxxxxxxxxxxxxxxxxxxxOpen Cursor MCP Settings
In Cursor, open Settings and navigate to the MCP configuration section.
Add QVeris MCP Server Config
Add the QVeris MCP Server configuration to your Cursor MCP settings file.
your-api-key-here with the key you copied in Step 01.Restart Cursor and Verify
Restart Cursor to load the QVeris MCP Server. Then verify the connection in Cursor's AI chat.
See It in Action
Real examples of what you can ask Cursor to do after connecting QVeris.
CLI or MCP Server for Cursor?
| MCP Server | CLI | |
|---|---|---|
| Best for | Cursor inline AI chat | Cursor terminal / scripts |
| Setup | mcp.json config | npm install |
| How it works | Tool schemas in context | Subprocess command |
| Output | Inline in chat | Terminal + --json |
| Token cost | Schema injection | ~50–100 tokens |
| Recommendation | ✓ Cursor AI chat | ✓ Cursor terminal |
Common Setup Issues
MCP Server not showing
① Check mcp.json syntax with a JSON validator
② Ensure npx is installed: npx --version
③ Restart Cursor completely (not just reload)
④ Check Cursor Settings → MCP for errors
API key not recognized
① Verify key starts with qv- prefix
② Check for extra spaces when copying
③ Confirm key is active at qveris.ai/account
④ Create a new key if issue persists
Tool calls returning errors
① Check credit balance at qveris.ai/account
② Verify network connectivity to qveris.ai
③ Check execution logs: Account → Usage
④ Try the call in Live Demo first: qveris.ai/playground
Frequently Asked Questions
How do I install QVeris in Cursor?
~/.cursor/mcp.json with the QVeris server config. Set your QVERIS_API_KEY environment variable, restart Cursor, and the integration is ready. Full setup takes under 5 minutes — see the step-by-step guide above.